Binding Tutorial Posts
| ||
Basics Post #2 - Bias Binding
| ||
Basics Post #3 - Scrappy Bias Binding
| ||
Single Fold Binding (for mini quilts & small projects)
| ||
As a response to all of the amazing questions brought up over the weekend I filmed a video to answer some of them.
--
What is binding?
Binding is the last step in completing a quilt. It serves the purpose of covering the raw edges of the quilt top, backing, and batting by encasing them.
 |
| I'm a personal fan of stripes cut on the bias for bindings. |
Straight of Grain or Bias Cut?
 |
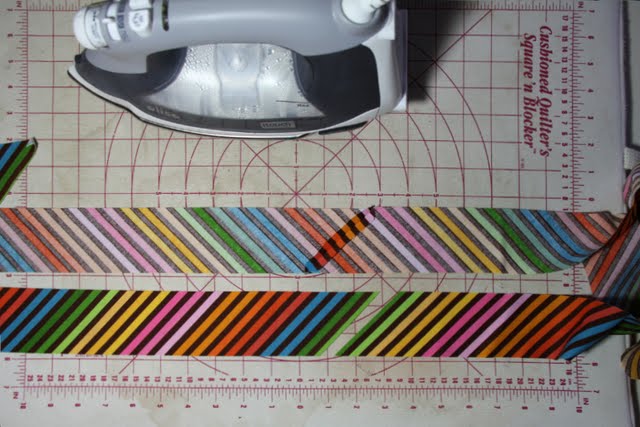
| Remix stripe cut straight of grain and on the bias |
I get asked this question very often. I've learned the difference between the two over the years by working at a quilt shop, taking classes and reading many books. The #1 reason to use bias cut binding over straight of grain binding is strength. Please look at the video for a full explanation on why bias is stronger.
Here is a table that shows the pros & cons of straight of grain binding versus bias cut binding. Keep in mind I use both and let the project decide which is best. Also note that the design of a print may also dictate which one is best.
| Straight of grain | Bias cut |
|---|---|
| Easy to cut | A bit harder to cut |
| Limited waste | More waste if you don't plan well |
| Less strength | More strength |
| Less stretch | More stretch |
| Straight sides only | Works beautiful with curves |
How to piece Straight of Grain Binding | |
|---|---|
| 1. Match SOG pieces as shown and sew a diagonal line to piece the strips.  | 2. Trim off the excess fabric.  |
3. Press the seam open. | 4. This is the result |
How to piece Bias Cut Binding There is also a method for making BC binding that is continuous and I'll show you that in Part #2. | |
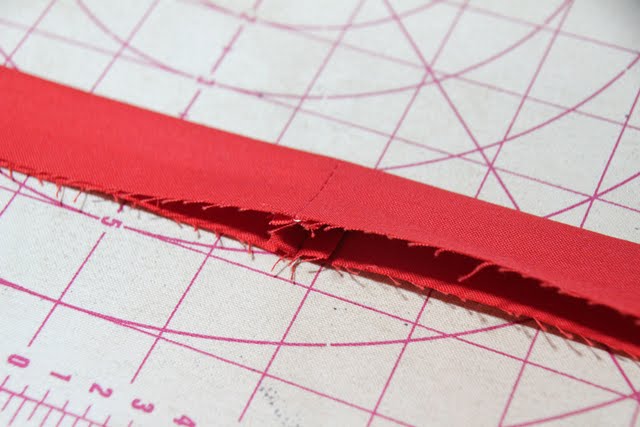
1. Match ends RST as shown and sew a 1/4" seam.  | 2. Press the seam open. If you have "dog ears" at the ends of your seam as shown below trim them off. |
3. This is the result | |
How to piece using straight seams | |
1. Sew end to end with a 1/4" seam and press the seam open.  | 2. Fold the binding in half as usual. Note that this method does show more bulk and is not recommended.  |
Still to come in Part 2, Part 3... etc.
- Step by step photos of how to do mitered corners as shown in the video
- Machine binding
- Odd corner angles, scalloped and curved edges
- Self binding
- Choosing binding fabric
- Options for cutting bias strips
- Binding width options
Personal Note:
Every teacher teaches things different & every book shows you things in slightly different ways. At the end of the day there really is no right or wrong as long as you are happy with the result.

© 2011-2022 Julie R. Herman. All rights reserved.
No part of this tutorial may be reproduced without written consent of Jaybird Quilts.
For more information visit http://www.jaybirdquilts.com/ 


