
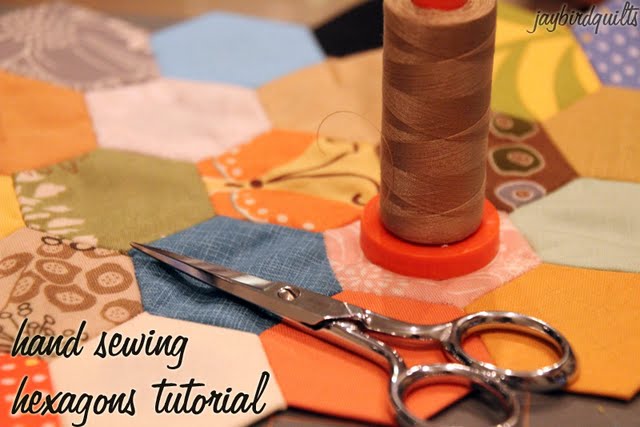
hand sewing hexagons tutorial! {part 3}
{see part 1 for info on templates & basting}
{see part 2 for info on sewing hexagons together}
Below are step by step directions for removing the plastic quilt patis and one finishing option.
{Directions are written for right handed people... if you sew left handed you'll have to reverse a a few steps.}
fabrics used in most tutorial photos are...
Mon Sheri by Khristian A. Howell {available in october}
from robert kaufman

the back

2. The next step is to remove the plastic patis. You'll need a "tool" for this. I use a letter opener that doesn't have a sharp end... you could also use a chopstick. Another good option is the "purple thang." Insert your tool in center hole towards a corner of your hexagon.

3. After you pop one corner out the hexagon template can easily be removed.

4. And you never have to take the basting stitches out!

5. When removing the templates from the edge make sure to point your tool towards the inside of the flower as this will help prevent distorting the edges of your flower.

6. Remove all templates. Once all of the plastic templates have been removed you can iron the flower.

7. One finishing option is to appliqué the flower onto a background.

8. Pin the flower in place on your background.

9. I know some people use basting glue... but i stuck with pins since this was a fast little project.

10. Thread your needle and put a knot at the end. You'll see in the photos I used white. I suggest using a color that matches your appliqué. Start on the back of your piece and bring the needle through to the front at the very edge of the flower. {See middle of photo}

11. Pull thread through to the top.

12. Put your needle into the background fabric right next to wear you first came out. Take a small stitch and come back out through the edge of the flower to the top. {See detail photo below}

{ detail photo }

13. Continue all the way around the flower. Finish with a knot in the thread on the back.

14. This is what the back will look like. {Sorry for the bad shadow in the photo!}

The next few steps are optional.... but if your flower is light in color and your background is dark... very helpful!
15. Putting one hand under your project and the other above... gently pull the flower away from the background.


16. Put a tiny snip in the center of the background behind the flower.

17. Very carefully cut out the center background fabric 1/4" to 3/8" away from where you stitched the flower.

18. The result! This will also help limit bulk which can be helpful if you are going to do hand quilting.


In part 4 I'll show you another finishing option!
happy stitching!!
--
want to link to this tutorial?
grab a button!
{144 x 144}

{250x250}
enjoy!!
© 2009-2022 Julie R. Herman. All rights reserved.
No part of this tutorial may be reproduced without written consent of Jaybird Quilts.
12 comments:
Thank you for the hexie tutuorial. I love hand sewing but have never done hexies. But ... I am going to give it a try. Thanks again.
Colleen
Great tutorial Julie. Oh, and guess what I scored last night at Gina's? A FQ pack of "Its a Hoot", couldn't help myself it just jumped into my hand.
Thank you for the continuing tutorial. I look forward to each and every step you have and will be providing. It has made creating hexago flowers fun!
Great tutorial! I just love the plastic templates for the hexagons, I am only 2 flowers away from having enough for a quilt. WOO HOO
Hexagons are magic. Have you tried the glue method? It saves basting. It works well if you want to use card stock for templates.
Another great piece to your hexie tutorials Julie! Thank you.
Love the Blue and Brown. I also love that you are hand sewing these. It takes longer but its soothing and relaxing. Great tutorial!
You have been nominated to receive the Sunshine Award. Check it out at http://straystitches1.blogspot.com/2010/09/is-brunch-breakfast-food.html
I made a whole bunch of large hexies. I have to make a quilt of those. I love making them! Great tutorial!
Micki
We love doing hexagons! They're great to make round pillows (like soccer balls, but prettier). Great tutorial!
Stray Stitches has sent me your way and I love your tutorial! I have just made my very first hexagon... but I am unsure how to finish if this is going to a swap and not on a back.
Thanks,
Shauna
Could you supply an HTML code for the 250x250 Hexagon Button above for my Google Blog?
Thank YOU!
Hugs!!!
Kim ♥
Post a Comment